
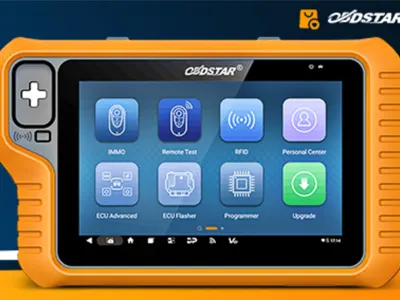
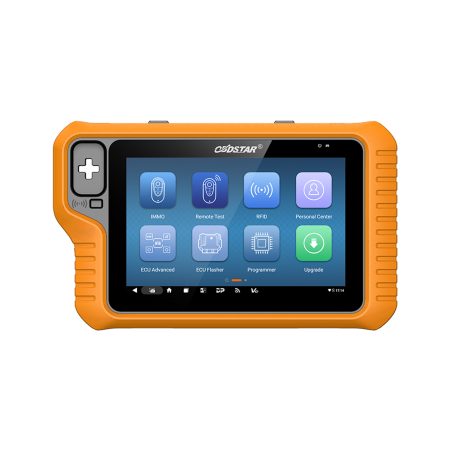
OBDSTAR diagnostic tablets, including the popular X300 Classic G3 (Key Master G3), are powerful tools that occasionally require a firmware reflash. This process might be necessary if you've forgotten your screen unlock password, the system becomes unstable, or the device prompts you that a reflash is needed. While the procedure is straightforward, it is critical to understand that a firmware reflash will erase all device settings and installed diagnostic software from the internal storage. This guide provides a comprehensive, step-by-step walkthrough to safely and successfully reflash your OBDSTAR tablet, ensuring you preserve your valuable software investments.
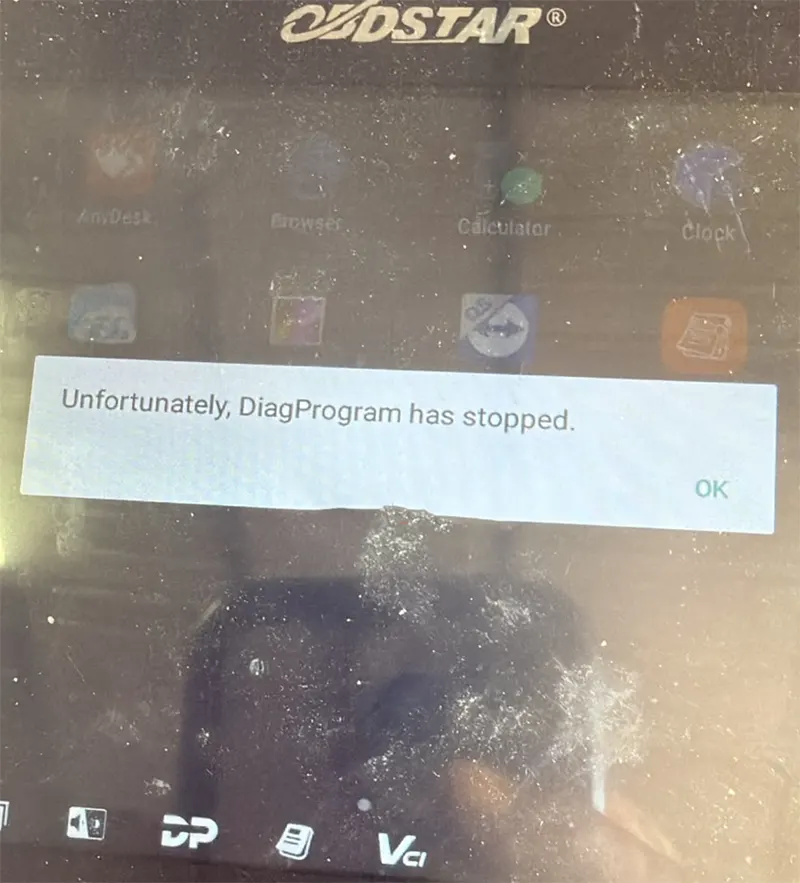
Essential Pre-Flash Preparation: Backup and File Acquisition
Before initiating any firmware update, preparation is the most crucial phase. The primary risk is losing access to your Diagnostic Platform (DP) software, especially if your active subscription has expired and you cannot re-download it. Follow these mandatory steps to secure your data and gather the necessary files.
Step 1: Mandatory Backup of DP Software
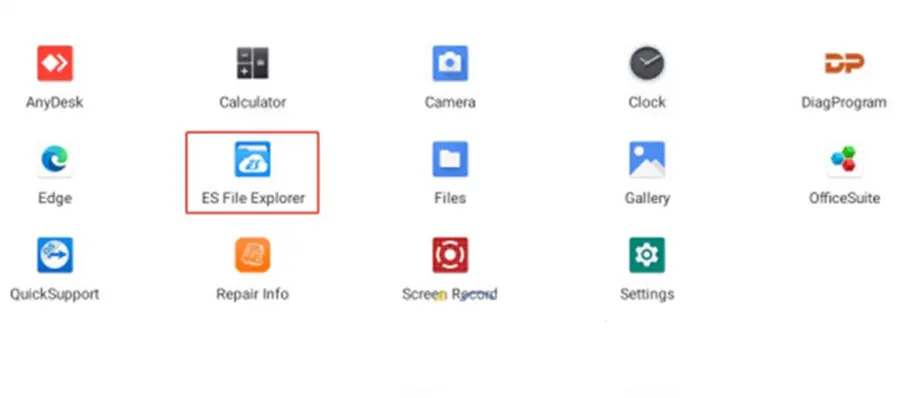
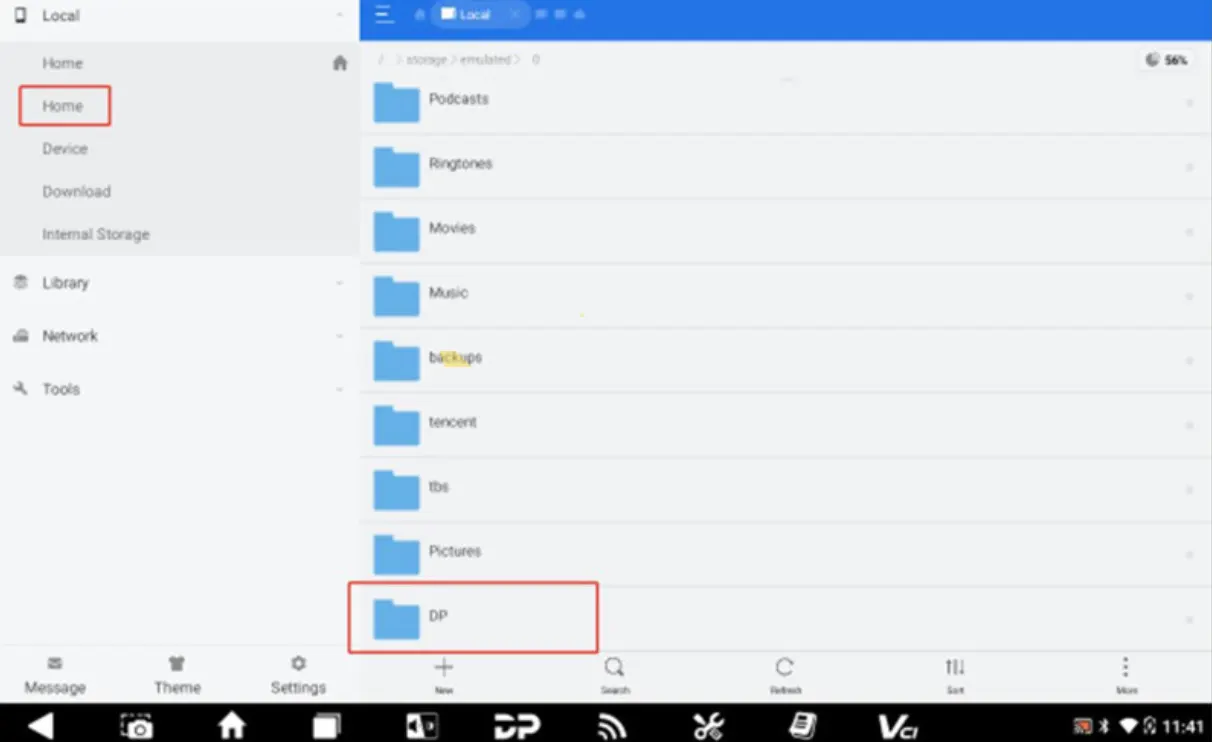
This step is non-negotiable. If you skip it, you risk losing your diagnostic software permanently. Insert a blank TF card (MicroSD card) with a capacity greater than 16GB into your OBDSTAR tablet. From the main screen, open the ES File Explorer application. Locate the main "DP" folder on the device's internal storage. Long-press on this folder to select it, then choose the "Copy" option. Navigate back to the root directory and select your external TF card as the destination. Paste the DP folder onto the TF card. This process may take a few minutes depending on the folder size. Once complete, safely eject the TF card and keep it safe; this backup will be used to restore your software after the firmware flash is complete.
Step 2: Download the Necessary Firmware Files
The firmware package for OBDSTAR tablets is exceptionally large and cannot be provided via a standard online link. You must contact your authorized dealer or supplier, such as OBDSTARSCANNER.COM customer service, to request the specific files. You will need to obtain two essential components: the SD Firmware Tool (typically version v1.75 or later) and the specific G3 Reflash File (with a .img extension). Ensure you have these files saved to your computer before proceeding.
Creating the Upgradable TF Card
This process requires a Windows PC, a separate TF card (with a capacity of at least 4GB, though a larger one is fine), and a card reader. Important: This process will erase all existing data on the TF card. Insert the TF card into the card reader and connect it to your computer. Locate the downloaded SD Firmware Tool (the .exe file) and run it. The software should automatically detect your TF card. If not, ensure it's properly recognized by your system. In the tool, click the "Firmware" button and browse to select the downloaded .img file. Finally, click the "Create" button to begin the process. Wait patiently until you see the confirmation prompt: "Creating upgrade disk ok". Your bootable TF card is now ready. Safely eject the card from your computer.
Executing the Firmware Flash on the OBDSTAR Tablet
With the backup complete and the bootable TF card prepared, you can now proceed to the flashing phase. First, connect your OBDSTAR X300 Classic G3 to its original power adapter. Do not rely on the tablet's battery for this operation; a power interruption during the flash can permanently damage the device. Insert the prepared upgrade TF card into the tablet's TF card slot. Long-press the power button on the tablet and tap "Restart" from the on-screen menu. The tablet should now automatically detect the upgrade card and begin the firmware update process. An on-screen progress bar will display the status. Do not interrupt this process or remove the TF card prematurely. Once the flash is complete, the screen will display a clear message: "Doing Actions succeed. please remove the sdcard". Immediately remove the TF card from the tablet. The device will then reboot automatically, loading the fresh, reflashed firmware system.
Post-Flash Restoration and Final Checks
After the device reboots into the new firmware, you'll need to restore your diagnostic software and settings. Power off the tablet and insert the TF card containing your backed-up DP folder. Turn the tablet back on, open the ES File Explorer, and copy the DP folder from the external TF card back to the device's internal storage. Overwrite any existing files if prompted. Once the copy is complete, restart the tablet. Your diagnostic software should now be fully restored and functional. Perform a final check to ensure all your licensed applications are working correctly. If you encounter any issues, contact your device supplier with your serial number and a description of the problem for further support.
Conclusion
Reflashing the firmware on an OBDSTAR tablet is a vital maintenance procedure that, when done correctly, can resolve many system issues and restore device stability. The key to success lies in the critical backup of the DP software and the careful preparation of the bootable TF card. By following this detailed guide, technicians can confidently perform this task, minimizing downtime and ensuring their diagnostic tools remain operational and up-to-date.
Recent Comment