
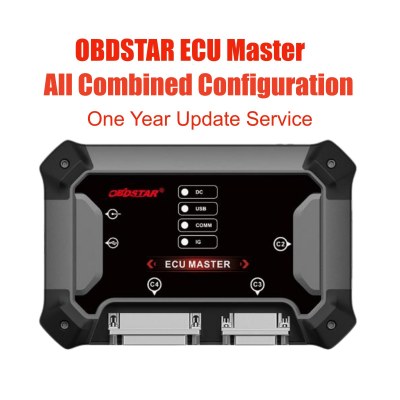
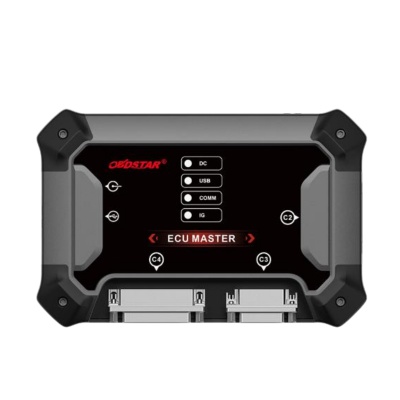
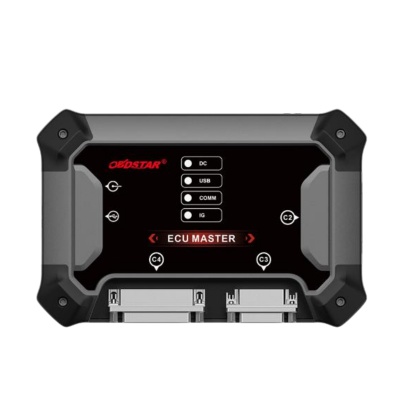
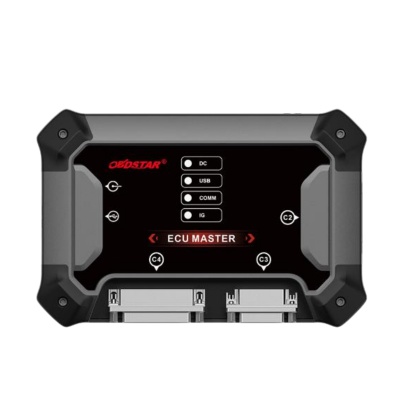
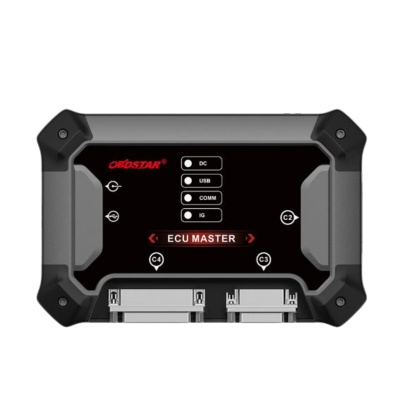
The OBDSTAR ECU Master is a powerful PC-based ECU programming tool that supports a wide range of vehicles, including heavy-duty trucks and commercial vehicles. One of the most common tasks technicians perform is reading and writing the Bosch EDC7UC31 engine control unit, which is widely used in IVECO trucks and other commercial vehicles.
This guide provides a complete walkthrough for bench reading and writing the IVECO EDC7UC31 ECU using the OBDSTAR ECU Master. Follow the steps carefully to ensure a smooth and successful cloning process.
Equipment You Will Need
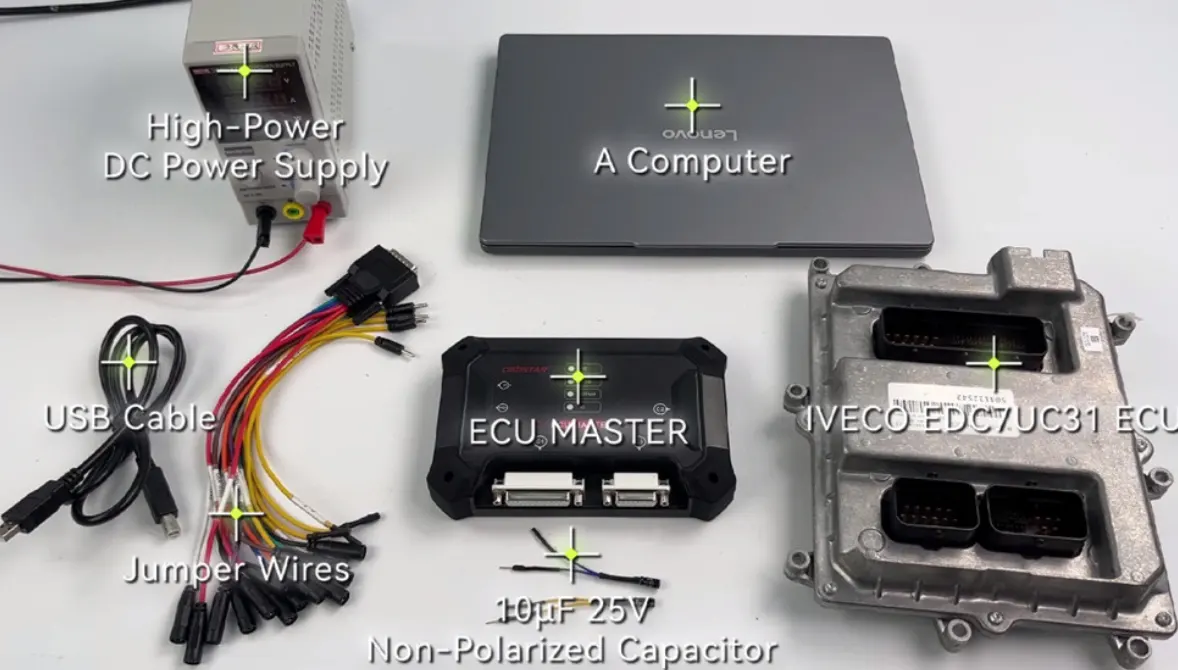
Before you begin, make sure you have the following tools and components ready:
- A PC running Windows 10 or newer – the ECU Master software is Windows-based.
- A stable DC power supply capable of delivering 12V–14V with at least 3A current.
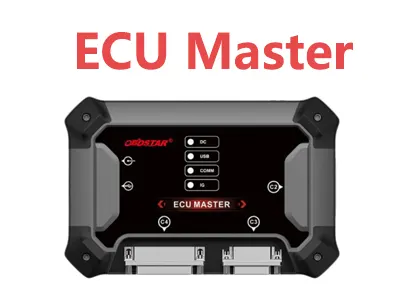
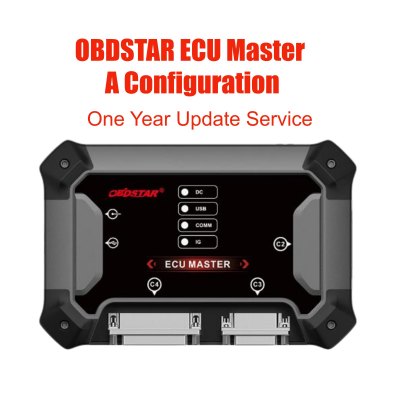
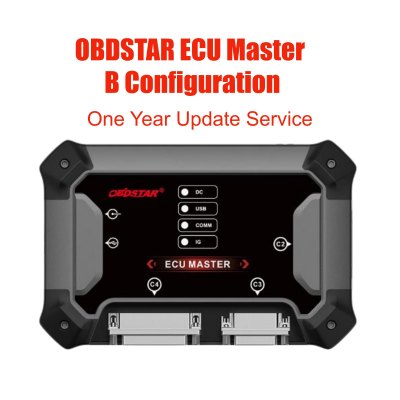
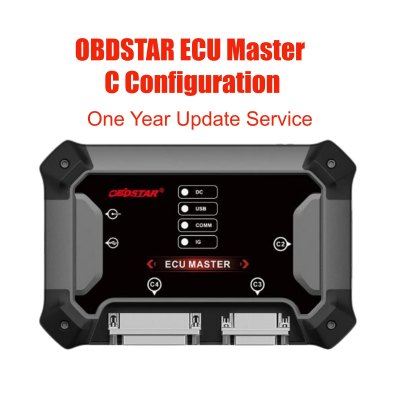
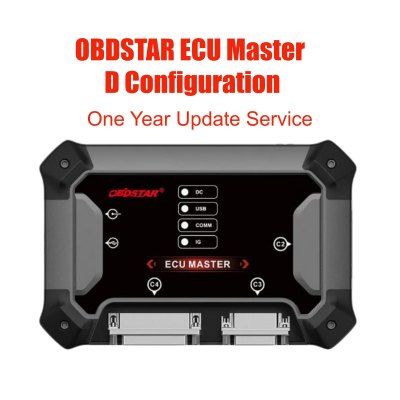
- The OBDSTAR ECU Master device – choose the version that supports your vehicle type:
- Full Configuration – covers passenger cars, EVs, motorcycles, and HD vehicles.
- HD Truck & Tractor Configuration (C) – specifically designed for heavy-duty commercial vehicles.
- Bench main cable and jumper wires for connecting the ECU.
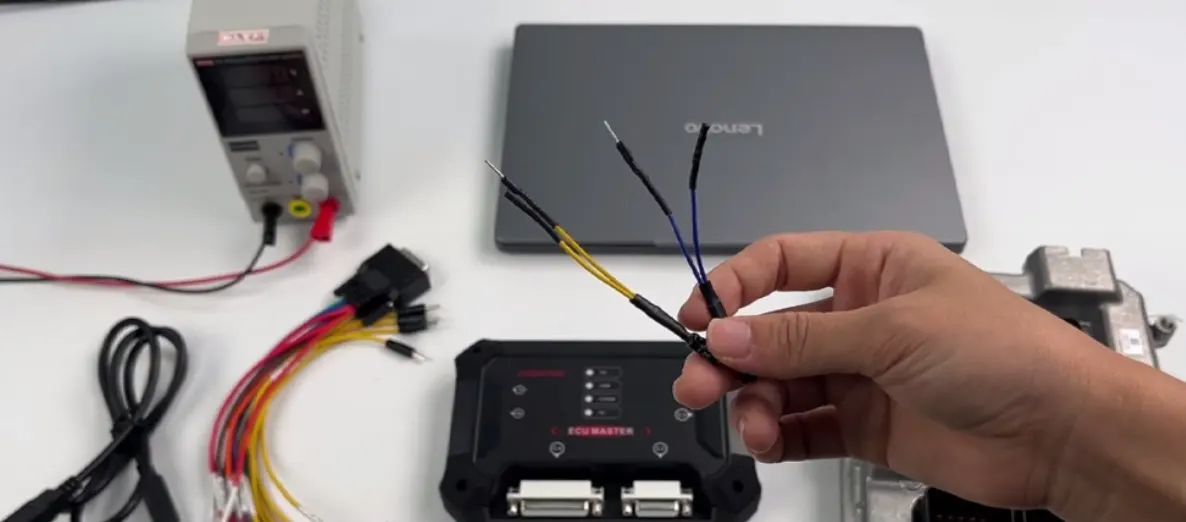
- A 10µF 25V non-polarized capacitor – this is essential for stabilizing communication on GPT/line signals.
Hardware Setup and Preparation
Proper hardware preparation is critical for a successful read/write operation. Follow these steps to set up your bench environment:
- Connect the OBDSTAR ECU Master to your PC using the provided USB cable. Launch the ECU Master software and ensure it is updated to the latest version.
- Power the ECU using your DC power supply. Verify that the power indicator light on the ECU Master device illuminates, confirming a stable connection.
- Modify the capacitor setup as shown in the hardware reference – the non-polarized capacitor must be placed on the GPT/line signals to reduce noise and ensure reliable communication.
- Wire the ECU according to the bench pinout. Use the jumper wires to connect the OBDSTAR ECU Master to the appropriate pins on the ECU connector.
Software Setup and Vehicle Selection
With the hardware ready, open the OBDSTAR ECU Master software on your PC. If this is your first time using the tool, you will need to register an account and activate the software.
FYI: How to Register an OBDSTAR ECU Master Account
- Navigate to the main menu and select ECU Flasher.
- Choose HD (Heavy Duty) from the vehicle categories.
- Select ECM (Engine Control Module) and then choose ECM V40.00.
- In the search bar, type edc7uc and select the IVECO profile from the results.
Bench Mode Selection and Pinout Configuration
Once the vehicle profile is loaded, you need to configure the connection mode and pinout:
- Click Start and select BENCH mode, then confirm with OK.
- Review the operating notes displayed on the screen, then open the Pinout diagram.
- Connect the wires according to the following pin assignments:
- A-Pin 2 → 24V (power)
- A-Pin 6 → GND (ground, pins 4+5)
- A-Pin 40 → IG (ignition)
- A-Pin 89 → K-LINE (communication)
- B-Pin 9 → GPT0
- B-Pin 23 → GPT1
Reading Data from the Original ECU
With the wiring complete, you can now extract the data from the original IVECO ECU:
- Click Connect to establish communication with the ECU.
- Select Read EXT FLASH (M58BW016XB) – this reads the main program memory. Save the file to your PC.
- Next, select Read EXT EEPROM (95640) – this reads the configuration and calibration data. Save this file as well.
It is highly recommended to keep these original files as backups in case you need to restore the ECU to its factory state.
Writing Data to the Donor ECU
After successfully reading the original ECU, you can transfer the data to a replacement (donor) unit:
- Disconnect the original ECU from the bench setup.
- Wire the donor ECU using the same pinout as the original.
- Click Write EXT FLASH (M58BW016XB) and select the FLASH file you saved earlier.
- Click Write EXT EEPROM (95640) and upload the EEPROM file.
- Wait for both write operations to complete successfully.
Finalizing the Cloning Process
Once the write commands are finished, click Disconnect to safely end the session. The bench cloning process is now complete, and the donor ECU should function identically to the original.
Always test the cloned ECU in the vehicle to verify that all systems are operating correctly before returning the vehicle to service.
Additional Tips for Success
- Keep your software updated – OBDSTAR regularly releases updates that improve compatibility and add new vehicle coverage.
- Use a stable power supply – voltage fluctuations during read/write operations can cause errors or corrupt data.
- Double-check your wiring – incorrect pin connections can damage the ECU or the programming tool.
- Save backups – always keep copies of the original FLASH and EEPROM files before writing to a donor ECU.
For more detailed information on OBDSTAR ECU Master configurations and supported vehicles, refer to the official documentation or contact your local distributor.
Recent Comment
Henry Wells
Jul 30, 2026Clear, step-by-step procedures for IVECO EDC7UC31 cloning. Emphasizes stable power and capacitor discharge – critical for avoiding errors. Very useful.
Jimmy
Jul 28, 2026Great step-by-step guide for cloning IVECO EDC7UC31 ECUs using OBDSTAR ECU Master! The detailed pinout, capacitor setup, and read/write procedures make the process clear and manageable. Essential tips on stable power and backups are very helpful. A must-read for heavy-duty technicians performing bench cloning!